
The power of personalisation campaigns is becoming more present with the adoption of AI (artificial intelligence) technologies. Or as Cardinal Path Co-founder Dave Booth referred to it at 2017’s Google Masterclass, Intelligent Assistance (IA).
Personalised content is shown to be more effective at engaging with your visitors. A no-brainer really! It can be done in many ways, whether it be a good morning message based on time of day, or a hello message in the language of the visitor’s country. For example, you may greet a Swedish visitor to your website with Hallå, or if they are a returning visitor “Välkommen tillbaka” (Welcome back). Pretty cool, right?
eCommerce personalisation campaigns
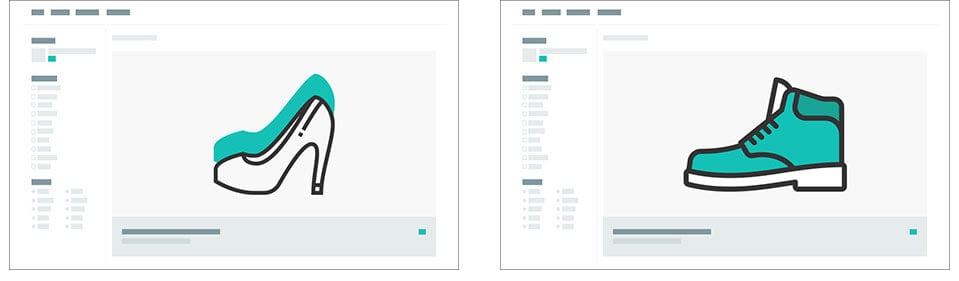
The possibilities of personalisation are endless. Think of all the amazing personalised messages you can deliver to your customers in real time. Although it doesn’t stop there. Conversion optimisation and experimentation tools allow you to display personalised website pages and content depending on visitor behaviour. For example, you may own an online shoe store where one user browsed high heels the last time they visited your website, and the other browsed winter boots. You can deliver two different targeted website pages to each of them.
So, how is this possible?
These audiences are created as a result of this visitor behaviour and Machine Learning (ML). ML is a method used to develop AI. It is where computers are able to learn from customer behaviour and do a particular task without being programmed.
Creating your personalisation campaigns
- Choose a page (or multiple pages)
Decide which page you would like to run your campaign. This could be a page where you would like to deliver your personalisation campaign, such as a product page. - Choose your conversion metric
Deciding what your goal is will help you determine what features you will be testing. This may be someone clicking a certain link, adding a product to a cart, or watching a product demo video. - Set up your events
You will want to track your conversion metric so you can measure the results and track key customer behaviours to help build out your audience. This might be a button click or a form submission. - Set up tags
Tags are essential to understanding your users behaviour further. Adding a tag to products will help you determine what specific product was added to a users shopping cart. For example, a user who has added a pair of cream snow boots to their cart can be identified as shopping winter boots. - Create your audience
After the above steps have all been completed, you are now ready to start collecting data on your users and sorting them into audiences. Your user who added cream snow boots to your cart can now be put into an audience for “Users who added winter boots to their cart”. - Personalisation
Personalisation can now come into play. This is where you can deliver your experience. Your audience for “Users who added winter boots to their cart” can now be shown the landing page for winter boots when they return to your website next. - Measure your results
Constantly measuring results is imperative to determine the success of your campaign. You’ll want to see where you are performing, or where you might need to fine-tune you campaign.
The importance of personalisation
Not only does personalisation improve relevance and your lead nurturing, it will help you build a loyal and engaged audience whilst increasing your conversions. Coming back to the same website and seeing the same messaging becomes a little dull after a while. Wow your users and give them something special, tailored to them, helping you make a connection and build trust.